Getting started with Helpdesk
Stop juggling emails, spreadsheets, and chat apps to handle customer support. Mantle's Helpdesk brings all your customer conversations into one place, with powerful tools to help you respond faster and build stronger relationships.
Whether you're getting dozens of support requests a day or just a handful, the Helpdesk gives you everything you need: a unified inbox, smart ticket management, AI-powered suggestions, and seamless integration with your customer data.
What you'll set up
Getting started with Helpdesk involves a few key steps:
Add your support docs - Import or create documentation that Mantle uses to help answer customer questions
Enable support channels - Set up email, chat, or Slack channels to receive and respond to tickets
Configure your inbox - Customize ticket settings, tags, and assignment rules
Optional: Add automation - Use Flows to route tickets, send auto-responses, and more
Step 1: Add your support docs
Before handling tickets, add a documentation repository. Your docs power two things: a hosted help center where customers can self-serve, and AI assistance that helps you draft responses.
To create your first docs repository:
Go to Helpdesk from the main navigation
Click Docs in the sidebar
Click Add repository
Choose whether to start fresh or import existing docs from Zendesk, Intercom, or other platforms
Your docs come with a fully hosted website where customers can search and browse articles. You can customize the look and feel to match your brand.
Tip: Even if you're starting with just a few articles, having docs set up means Mantle can suggest relevant articles to customers and help you draft responses faster.
Step 2: Enable a support channel
Channels determine how customers reach you. Enable at least one channel to start receiving tickets.
To configure channels:
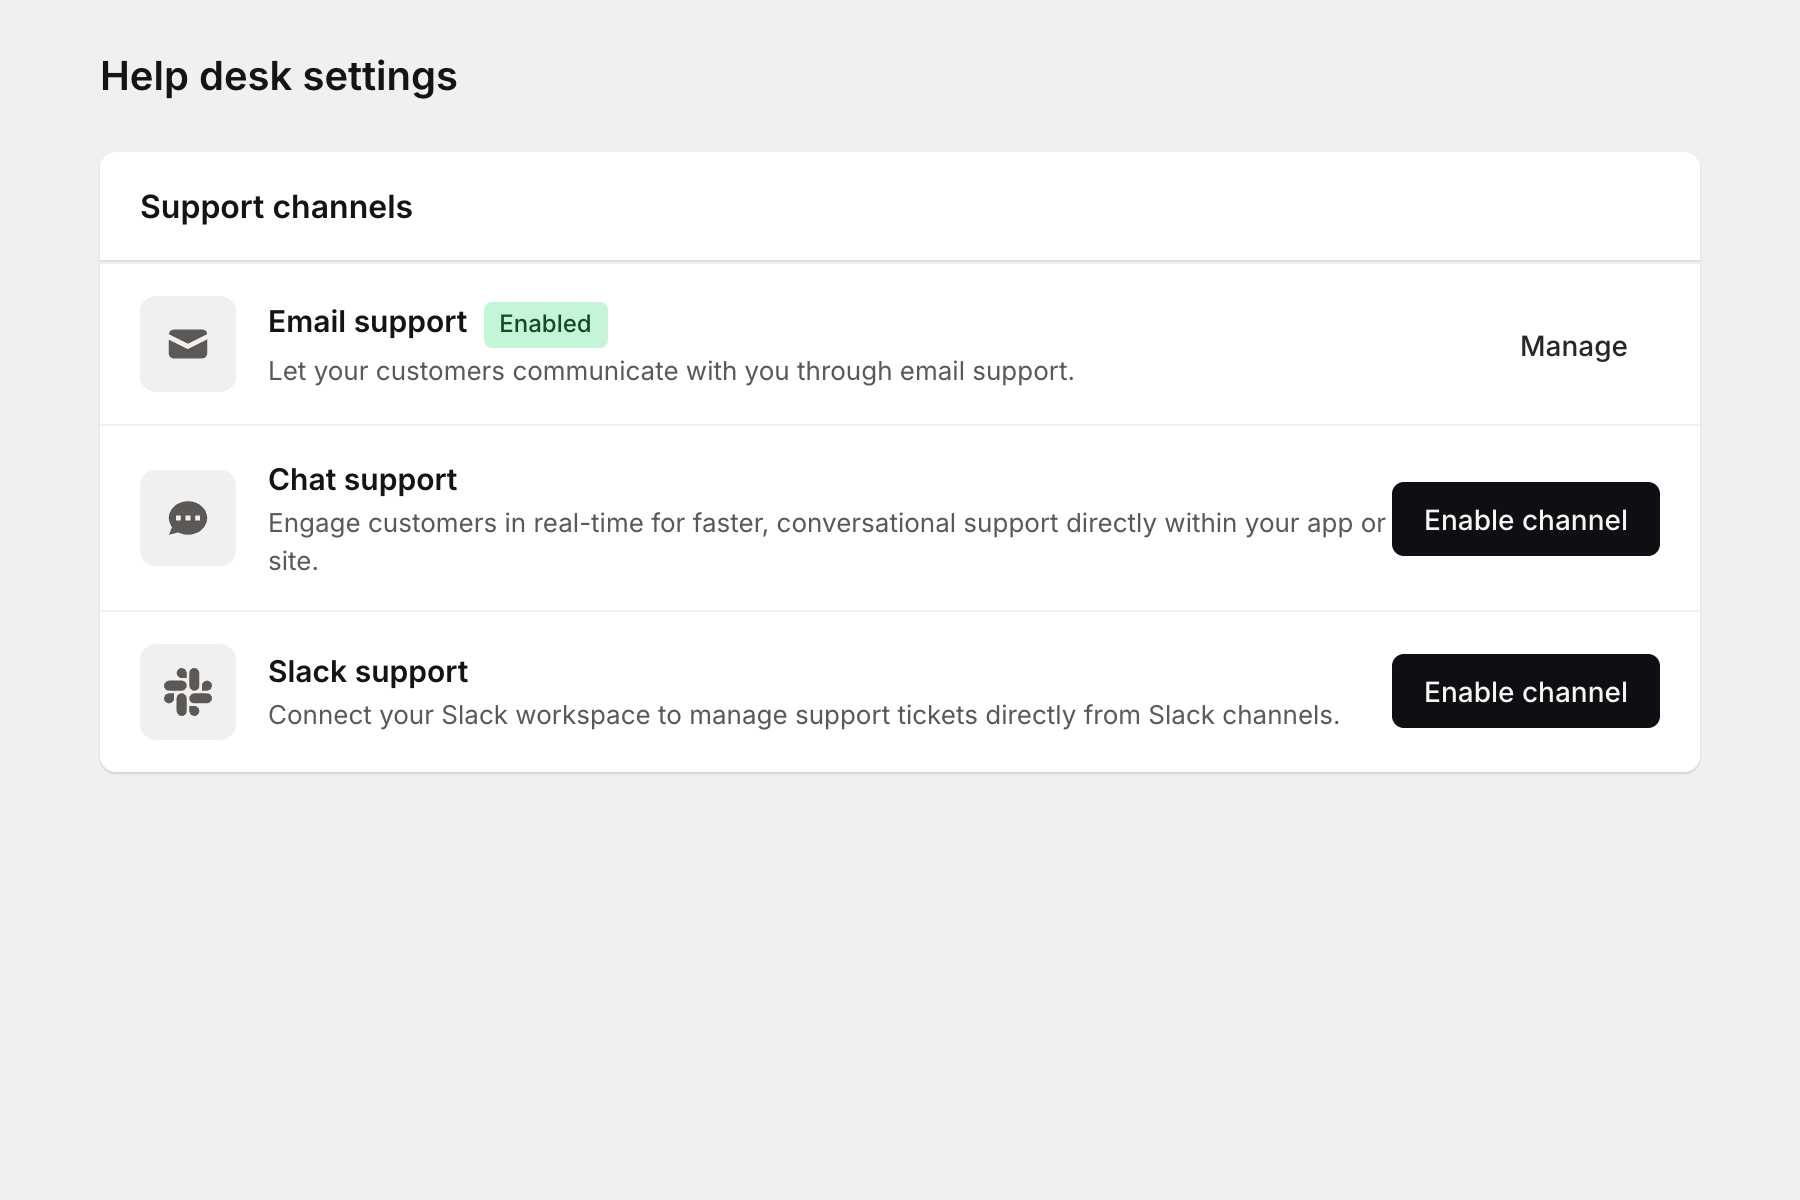
Go to Helpdesk > Settings
Under Support channels, click Enable channel for your preferred channel type
Available channels
Channel | Description |
|---|---|
Receive support emails and reply from Mantle. Set up forwarding from your existing support address or use a dedicated Mantle email. | |
Chat | Enable real-time chat through the support widget embedded in your app. Customers can message you directly without leaving your product. |
Slack | Connect your Slack workspace to manage tickets from shared channels. Great for high-touch support or team collaboration. |
Setting up email support
Email is the most common channel. After enabling it, you'll need to:
Add an email address - Enter the address where you want to receive support emails (e.g., [email protected])
Configure forwarding - Set up email forwarding from your current support address to route messages to Mantle
Add a sending domain - To send replies from your own domain, add DNS records to verify ownership
Step 3: Your ticket inbox
Once you've enabled a channel, support requests appear in your inbox as tickets. Each ticket contains the full conversation thread, customer context, and tools to help you respond.
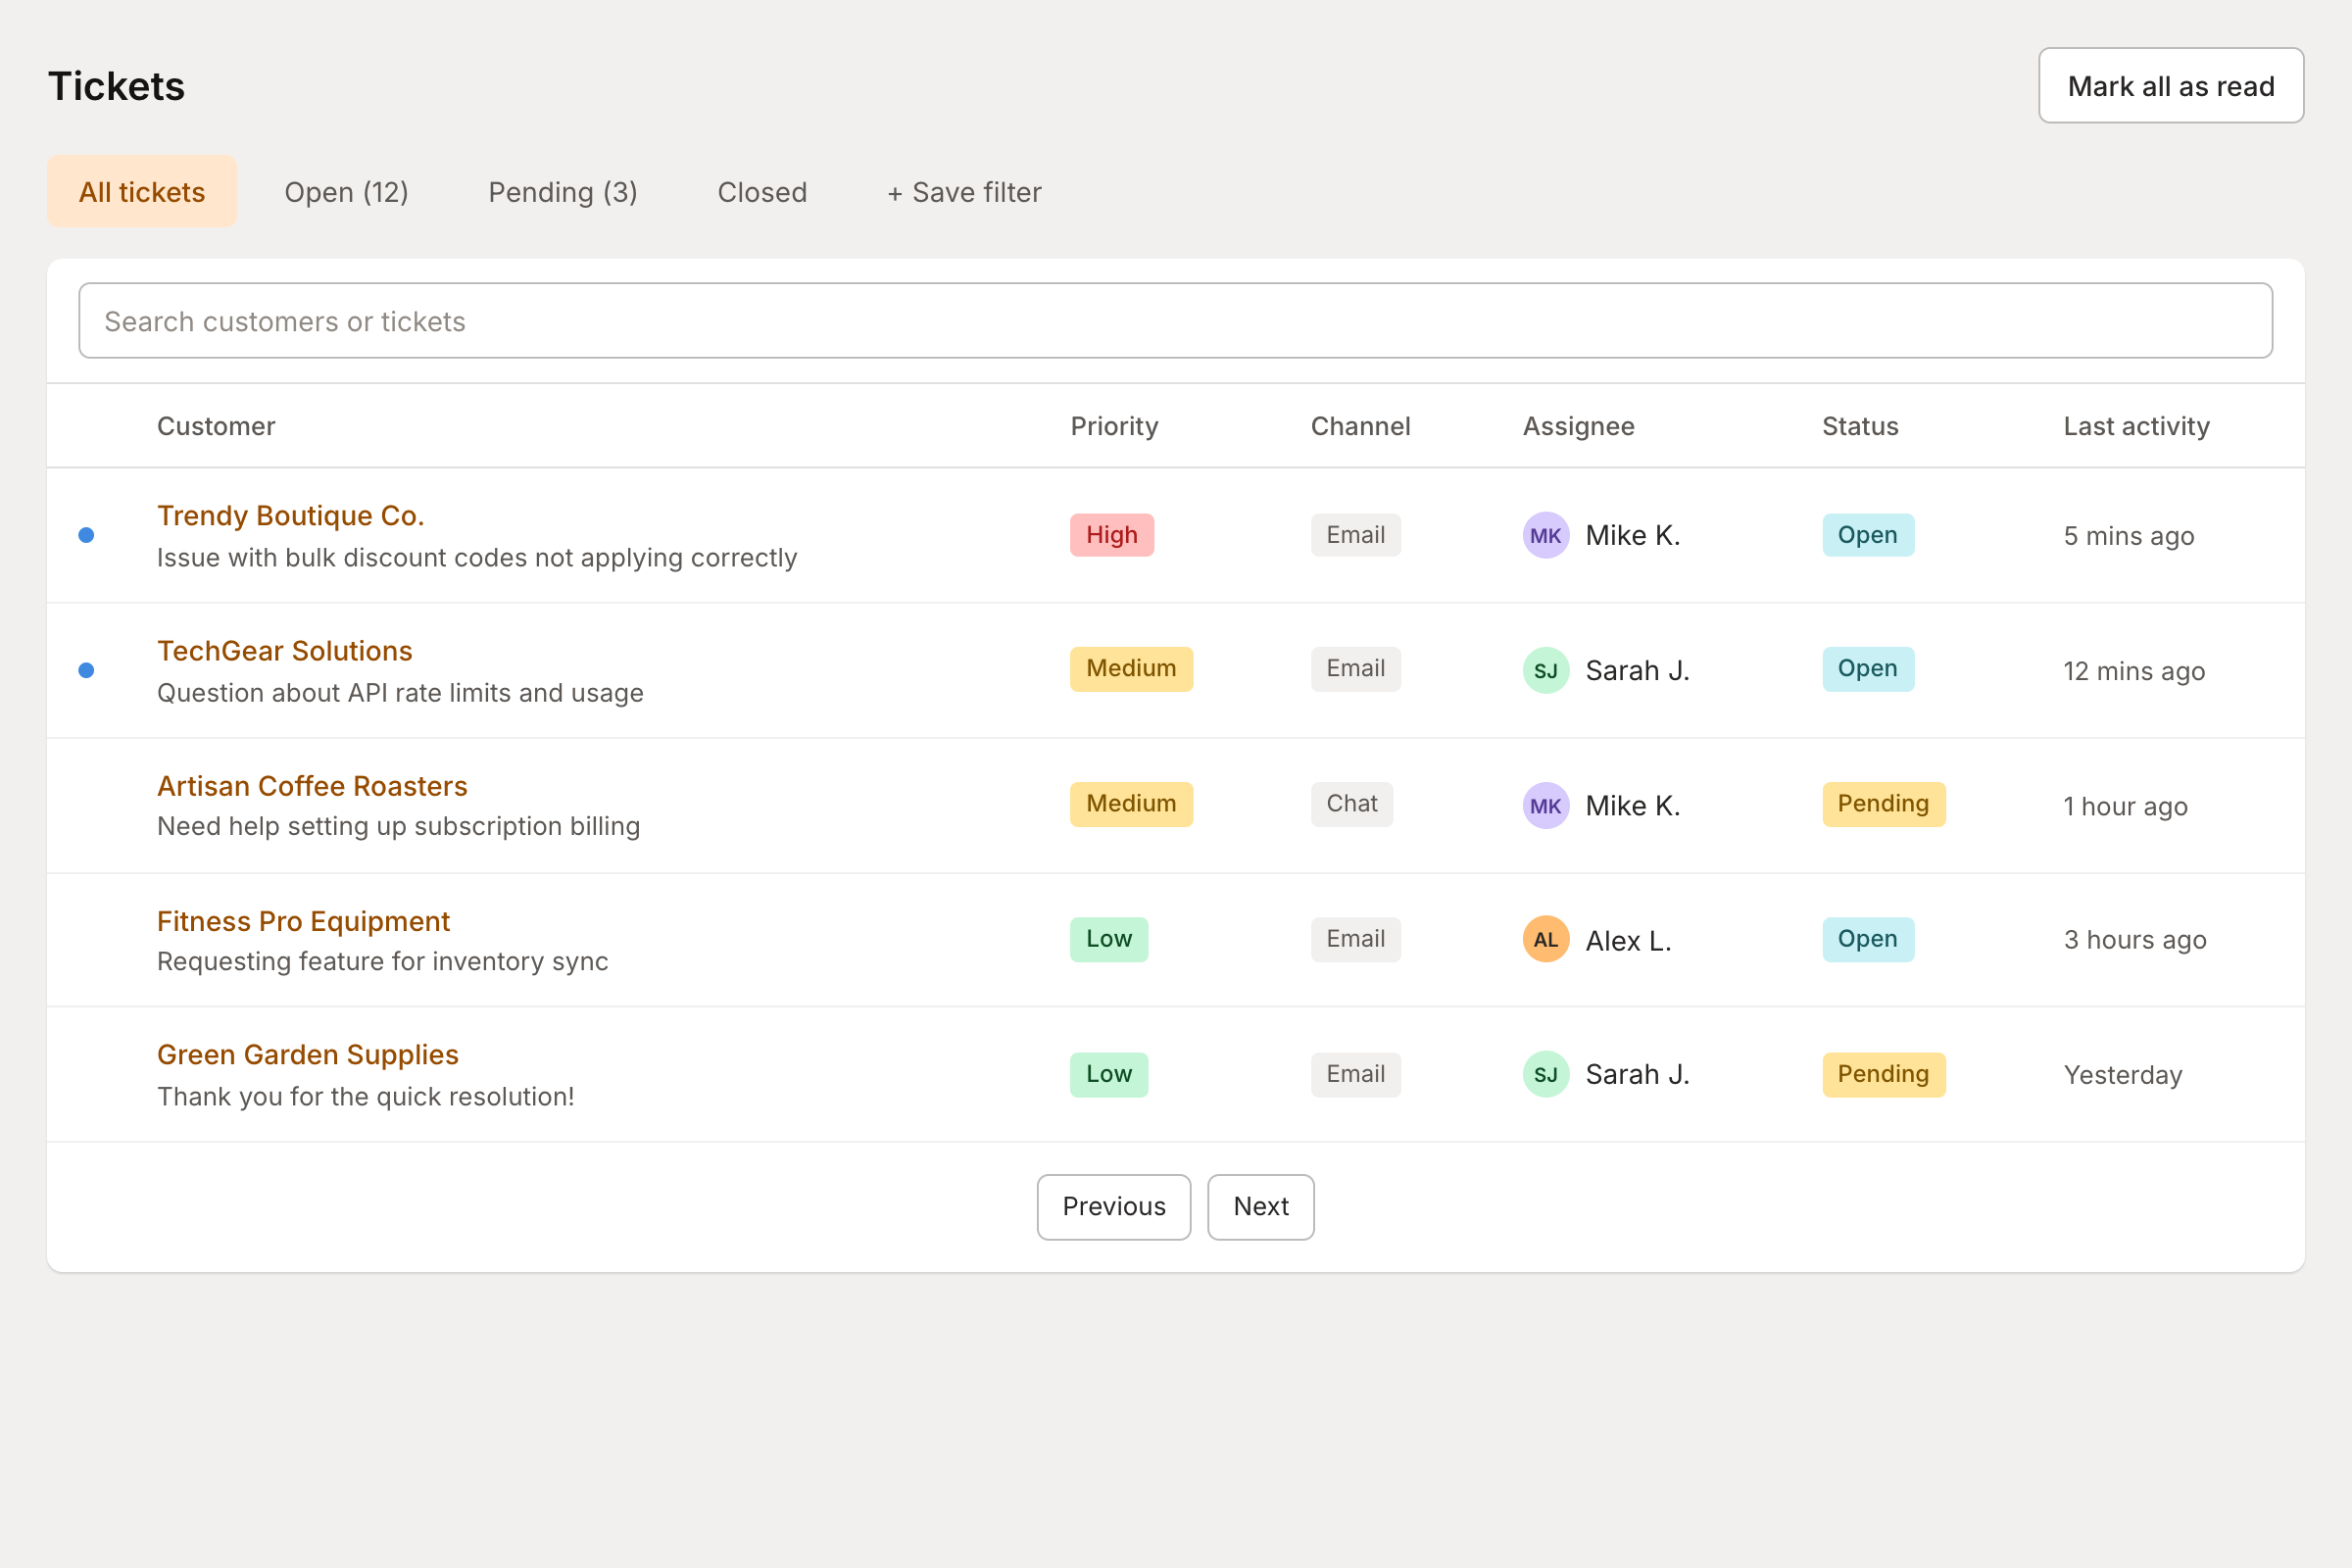
Ticket views
The inbox shows tickets organized by status. Use the tabs to filter what you see:
View | Shows |
|---|---|
All tickets | Everything in your inbox, sorted by most recent activity |
Open | Active tickets that need attention |
Pending | Tickets waiting for a customer response or scheduled follow-up |
Closed | Resolved tickets (still searchable) |
You can also create custom saved filters to quickly access specific ticket types, like high-priority issues or tickets from enterprise customers.
Step 4: Handling tickets
Click any ticket to open it. You'll see the conversation thread, customer information, and actions you can take.
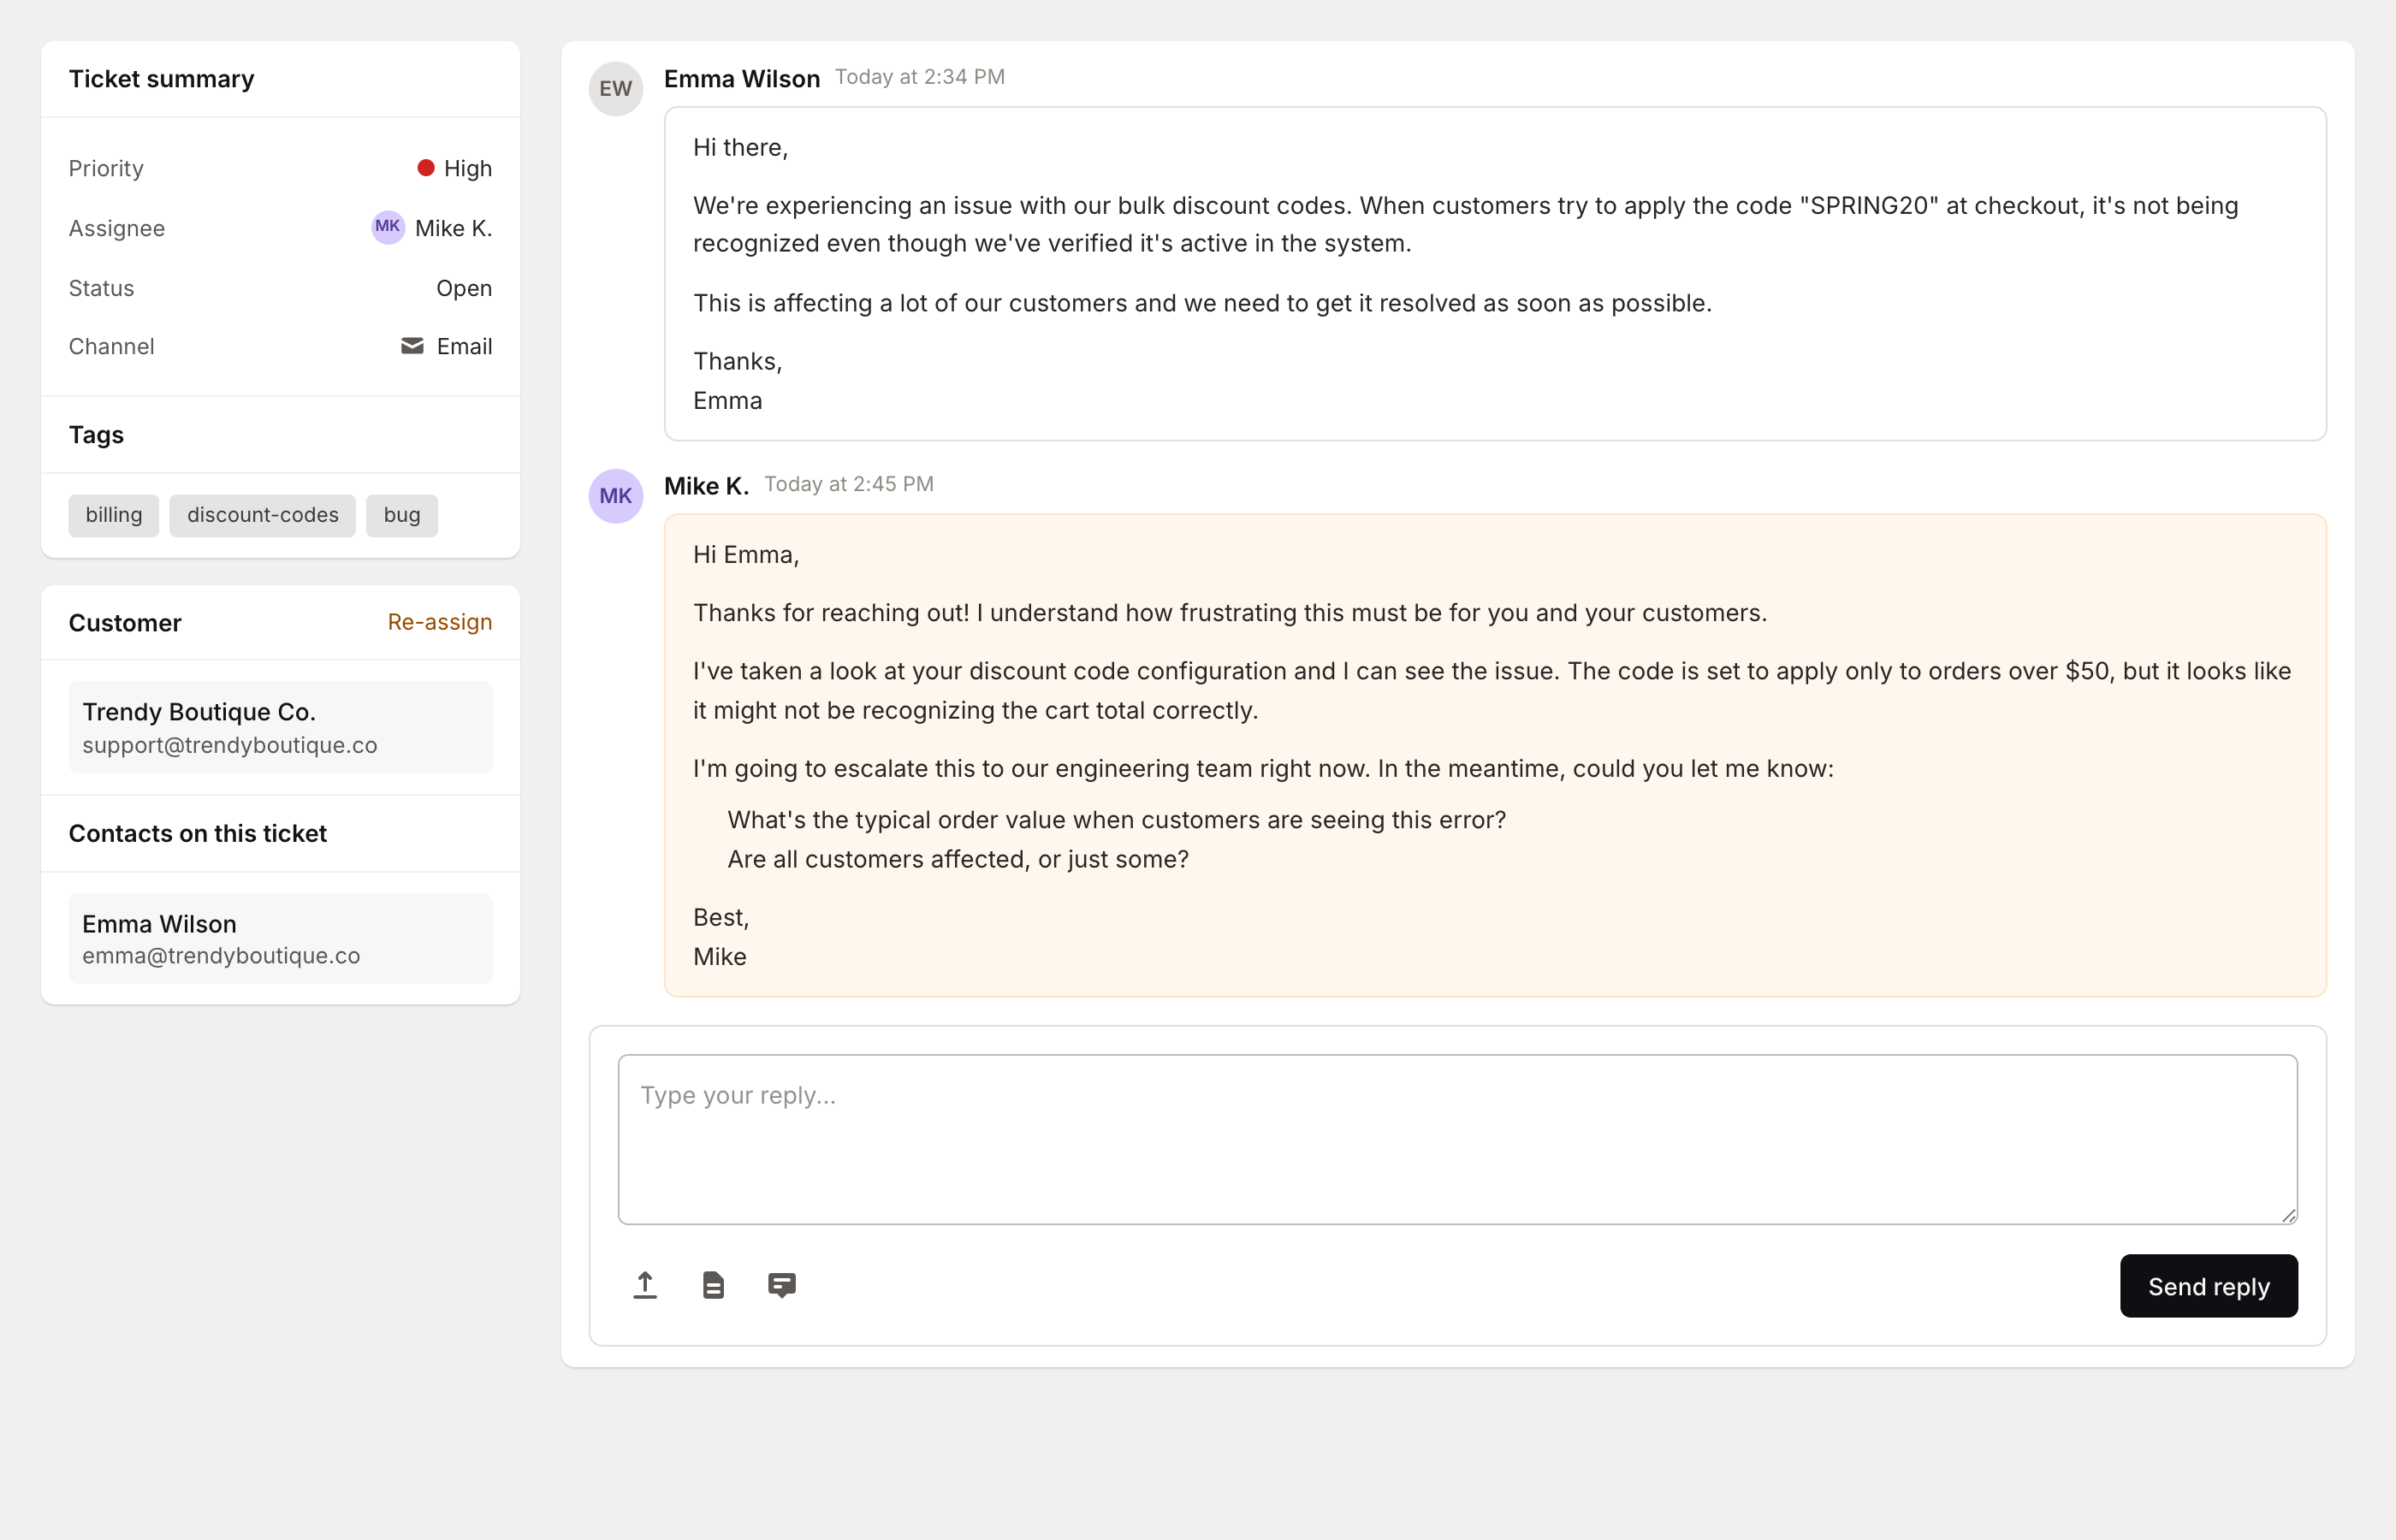
Ticket details
The sidebar shows key information about each ticket:
Priority - High, Medium, or Low urgency level
Status - Open, Pending, or Closed
Assignee - The team member responsible for this ticket
Channel - Where the ticket originated (email, chat, etc.)
Tags - Labels for categorization and filtering
Customer - Click to view the full customer profile with subscription and usage data
Responding to tickets
Write your reply in the compose area at the bottom of the conversation. You can:
Send a reply - Your message goes directly to the customer
Add an internal note - Leave notes visible only to your team
Attach files - Include screenshots, documents, or other attachments
Use saved replies - Insert pre-written responses for common questions
Pro tip: Mantle can suggest responses based on your documentation. Look for the AI suggestions when responding to save time on common questions.
For more on ticket management—including statuses, assignment, tags, internal notes, and tracking multiple issues with Loops—see Working with tickets.
Configuring ticket settings
Customize how tickets are handled in Helpdesk > Settings.
Auto-tagging
Mantle can automatically tag new tickets based on their content. Enable auto-tagging to categorize tickets without manual effort:
Go to Helpdesk > Settings
Under Tickets, enable Automatically tag tickets when they're created
Add the tags you want available (e.g., billing, bug, feature-request, integration)
Assignment rules
Choose how tickets get assigned to team members:
Method | Description |
|---|---|
None | Tickets stay unassigned until someone claims them |
Load balancing | Assign to the team member with the fewest open tickets |
Round robin | Distribute tickets evenly across the team |
SLA policies
Set response time targets to ensure timely support:
Go to Helpdesk > Settings
Under SLA policies, click Add SLA policy
Define first response time, reply time, and resolution targets
Optionally scope the policy to specific customer segments, channels, or agents
SLA policies help you track performance and identify tickets at risk of breaching your service commitments.
Optional: Add automation with Flows
Flows let you automate common helpdesk tasks. Some useful automations include:
Auto-respond to new tickets - Send an immediate acknowledgment when customers submit a request
Route tickets by content - Automatically assign billing questions to your billing team
Escalate overdue tickets - Get notified when tickets approach SLA breaches
Close stale tickets - Automatically close tickets with no response after a set period
To explore flow templates:
Go to Helpdesk > Settings
Click Browse flows
Select a template and customize it for your needs
What's next?
Once you've completed the basic setup, explore these features to get even more from Helpdesk:
Support widget - Embed help and chat directly in your app
Helpdesk automation - Build flows to handle repetitive tasks
Support analytics - Track response times, ticket volume, and team performance
Team settings - Add team members and configure roles